So, how to fight the second problem? The hot-spot? I thought that if it is caused by internal lens reflections,
it must be the same each time. So some kind of mask should be possible.
Indeed I think I may have found a useable way to deal with the bright centre spot, commonly referred to as HotSpot. Actually, for some cameras, this hot-spot is often not really brighter, but just seems so due to a hue shift. In this case, simple grey-scaling will make the spot invisible. |
 |
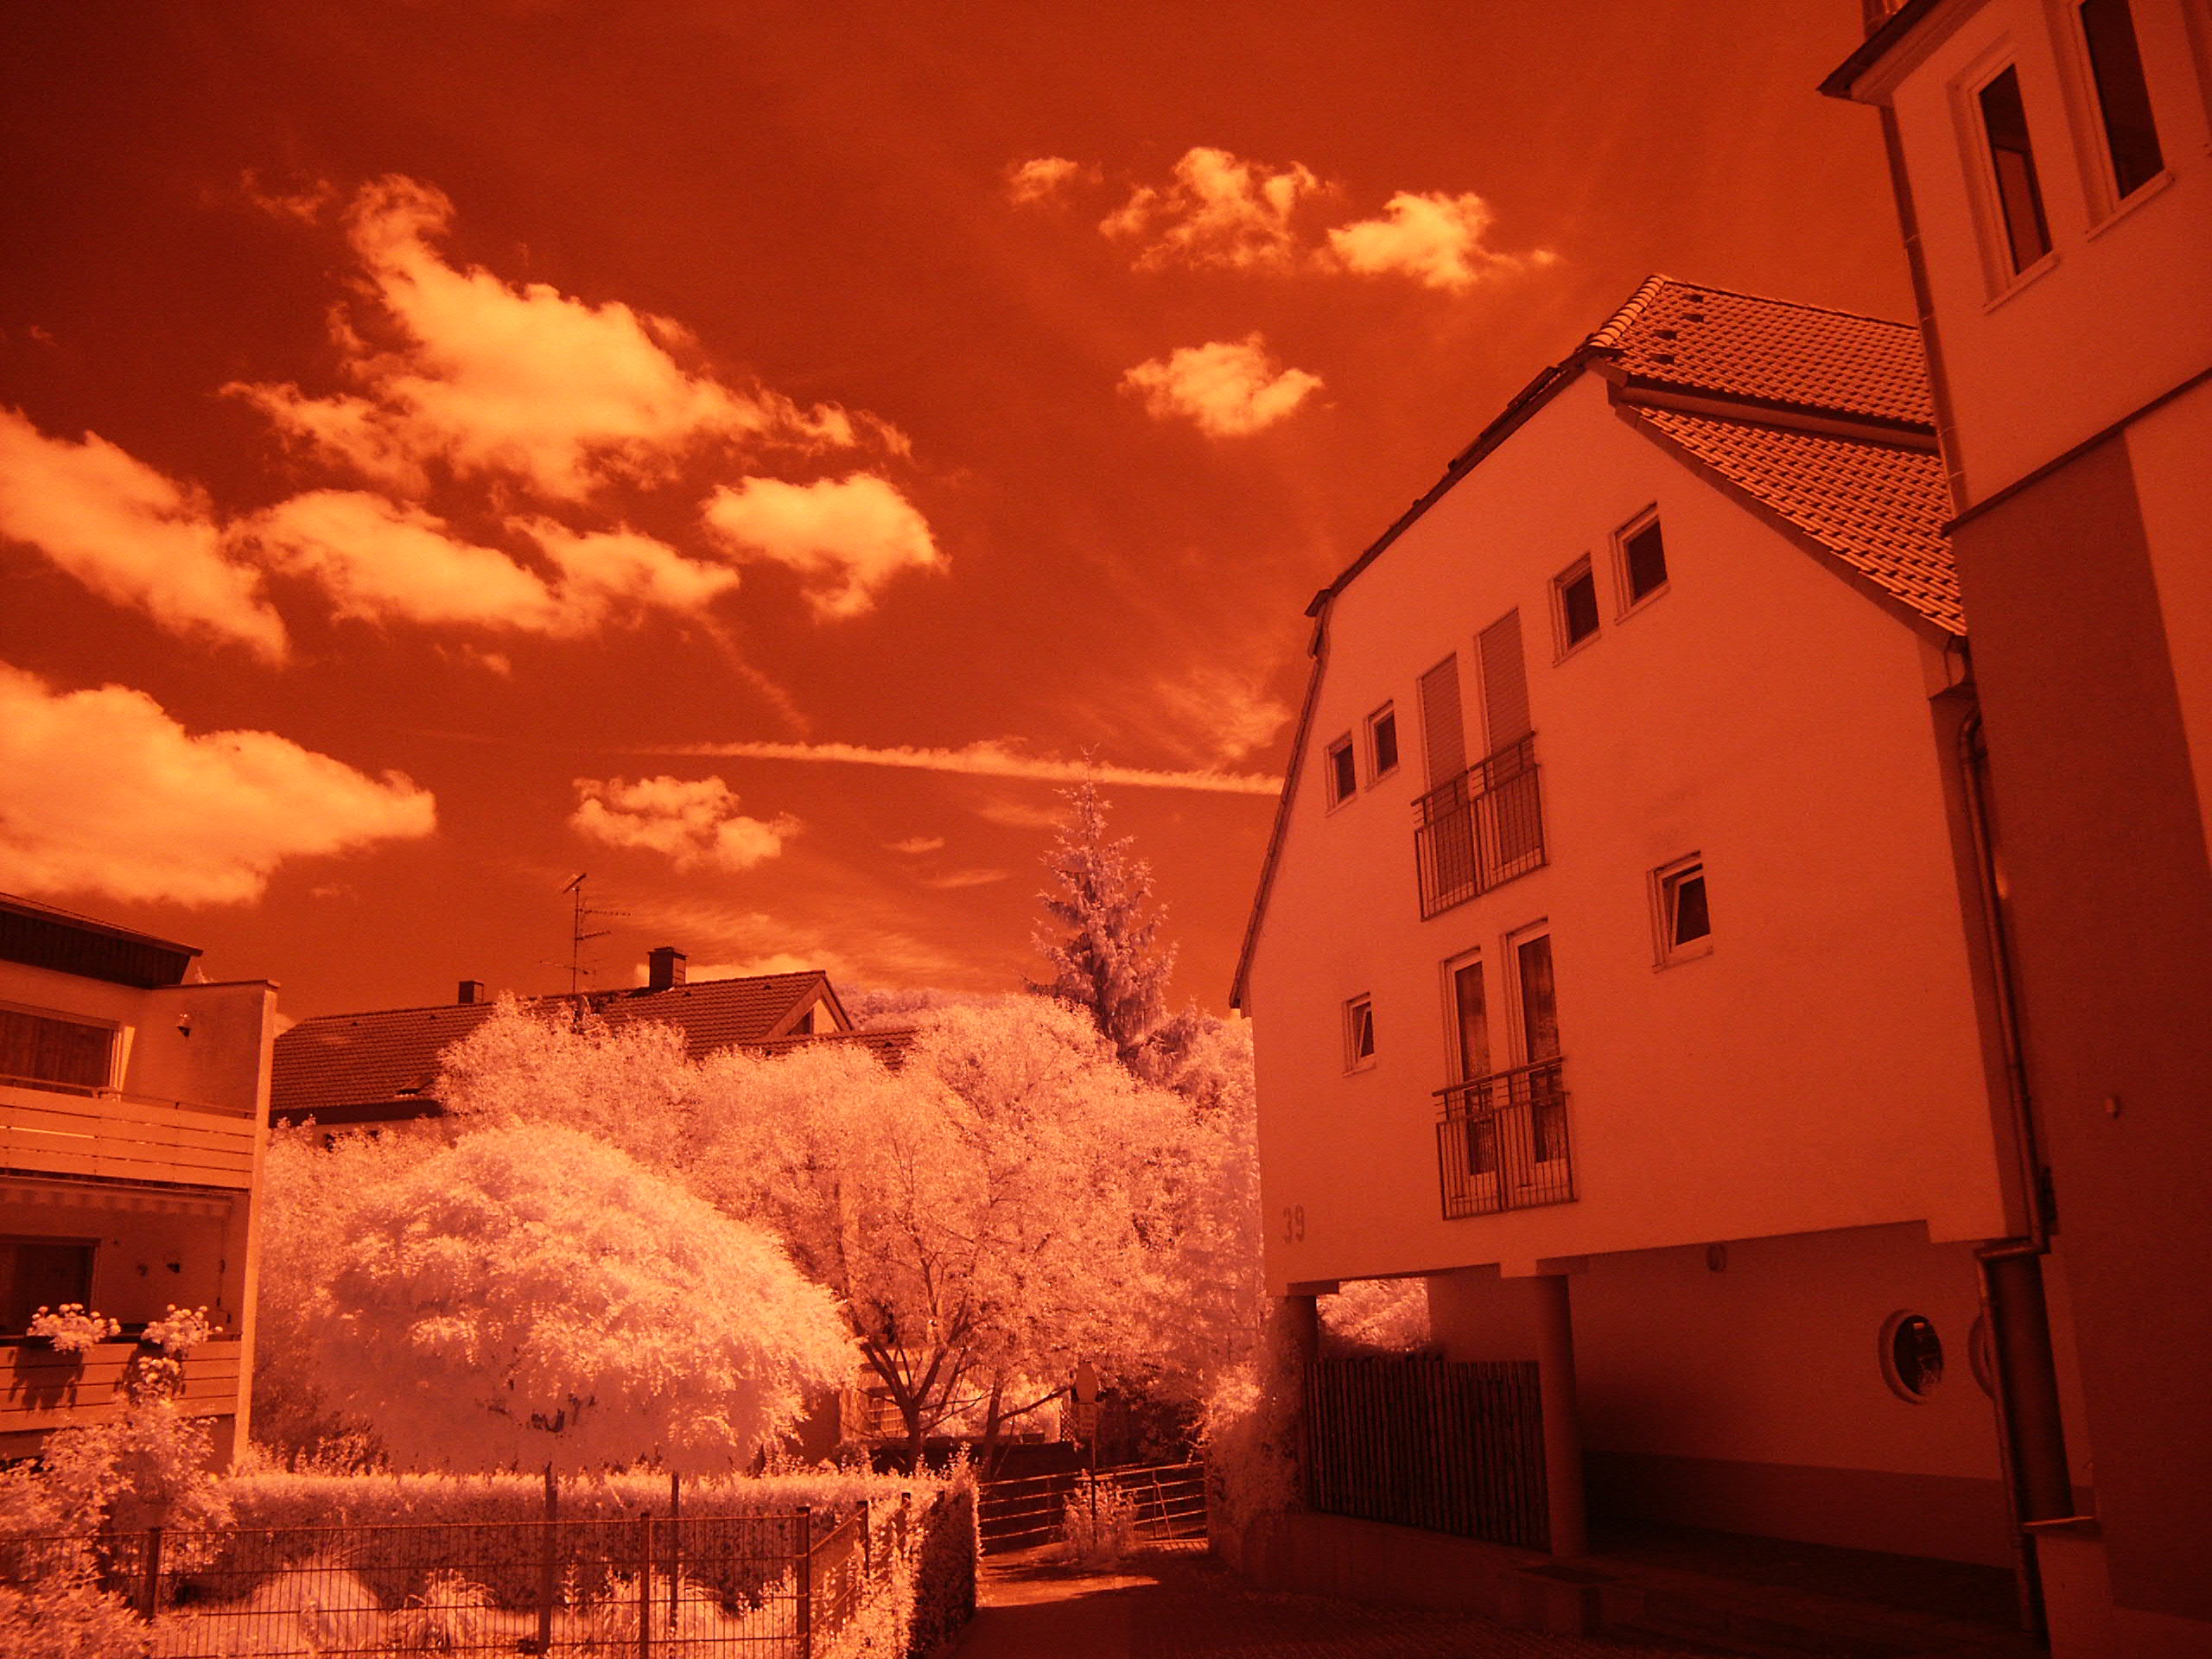
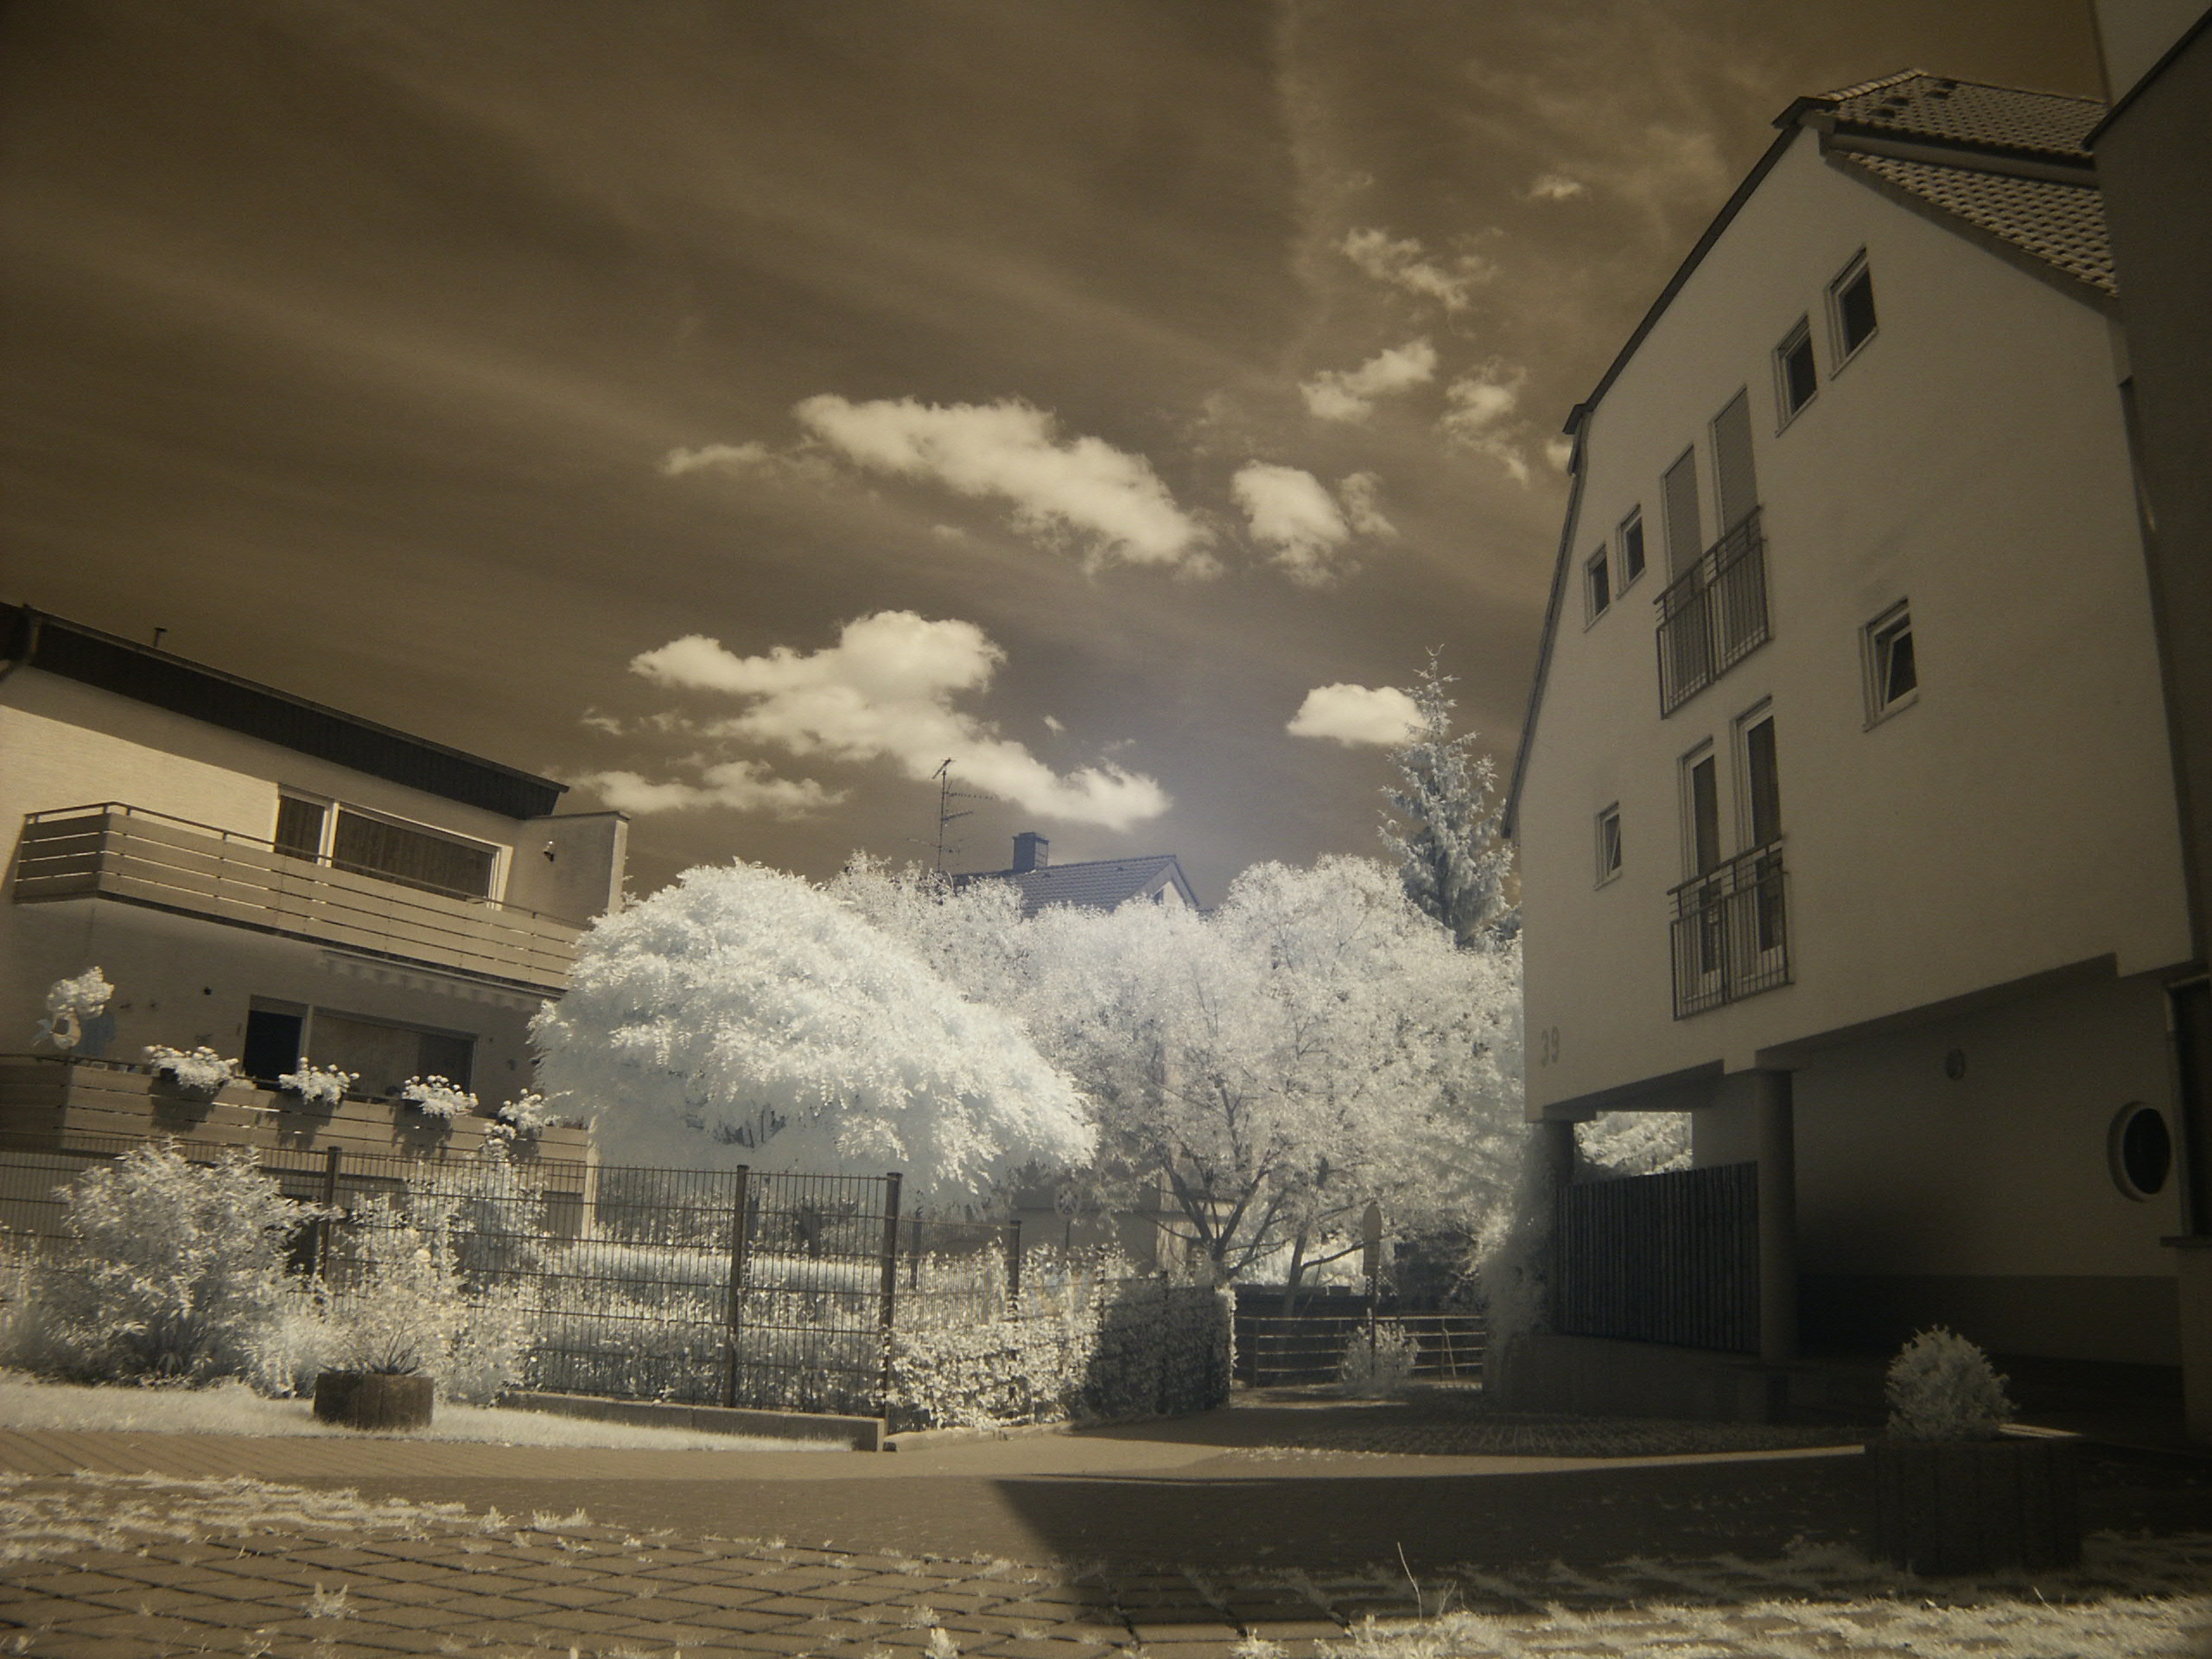
Ok, first, you need a shot of a white, evenly illuminated wall or similar. I used the picture from above.
You should use softening on it to get rid of any textures. It may also be a good idea to run it through an
anti-noise filter. But usually, softening should be enough. Convert the picture to greyscale and create a "photo negative" from it. Update: It today occured to me, that a white surface is not exactly smart to detect a bright spot! So, I'd suggest using something darker. I had very good results with shoting a white wall and using -2.0EV exposure correction. This will create a dark mask with a nicely visible centre spot. |
 |
If you use the mask like this, your resulting picture will be too dark. My suggestion is to use the eyedropper
tool to determine a "characteristic colour" outside of the HotSpot. (I'd stay away from the corner vignetting.)
Ok, then you create an image the exact size of the mask, and fill it evenly with 255-"characteristic colour".
The result is shown to the left. |
 |
Now, do an addition of the uniform grey picture and the softened mask.
You should get something like the finished mask on the left. |
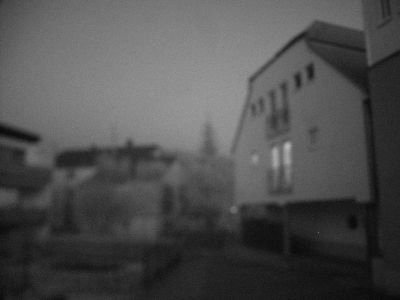 |
Then, convert the "real" photo to greyscale, too. This was shot with the very first stage of the D7IR,
that's why the picture is so unsharp. I'll update this section in the future. Until then, please bear with it, it shows the principle just as well. |
 |
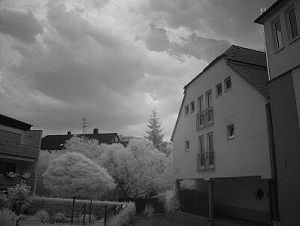
Use the finished mask as the top layer and do a "multiply". You should get a slightly darker photo without the HotSpot. |
I used PaintShopPro for that experiment. But the operations are fairly standard. So I think any decent software should be useable.
If you want to try for yourself, download a 750kB sample shot with the D7 and Heliopan 715nm: Minolta_D7_sample.JPG
|
